Dashboard slot sizes and layouts can be configured by using the Right-Click menu. The following options are available:
- Add Row
- Add Column
- Delete Last Row
- Delete Column
- Increase Width
- Increase Height
- Decrease Width
- Decrease Height
It is also possible to Rearrange Slot Contents.
Choosing a Dashboard Size
The following dashboard sizes are available:
- 2 x 2
- 4 x 4
- 4 x 6
- 18 x 8
The initial dashboard size determines the row height of slots on the dashboard. Adding a ROW adds a row that has the same dimensions as the initial dashboard row.
18 x 8
The 18 x 8 dashboard layout gives greater control over dashboard layout - resize slots using "Increase/Decrease Height/Width" until the desired layout is achieved.
- The number of rows for this dashboard is fixed
- The maximum number of filled slots on the 18 x 8 dashboard is 24
- It is not possible to add rows to this dashboard layout

Add Row
Adds another row to the dashboard. A maximum of 8 rows can be displayed on a dashboard.
Note: Adding another row to the dashboard will cause the dashboard to scroll.
Add Column
Adds another column to the dashboard by decreasing the width of existing columns.
Note: Adding columns to the dashboard does not cause the dashboard to scroll.
Delete Last Row
Deletes the last row from the dashboard.
Note: A minimum of 1 row must be present in the dashboard
Delete Column
Deletes the selected column.
Note: At least one column must be present on a dashboard.
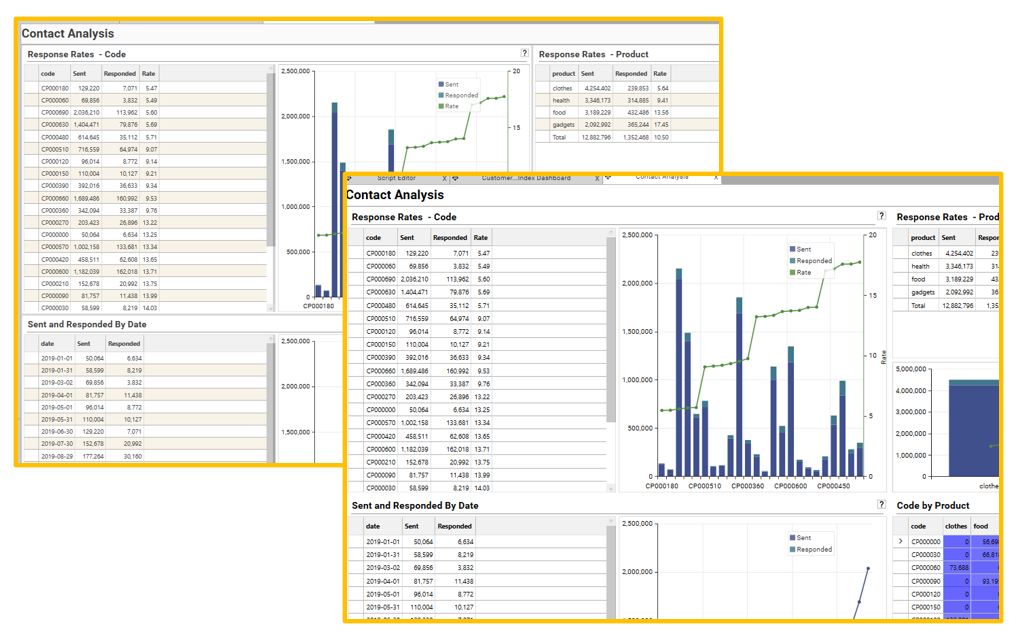
Increase Width
Increases the width of the current slot by one current width:
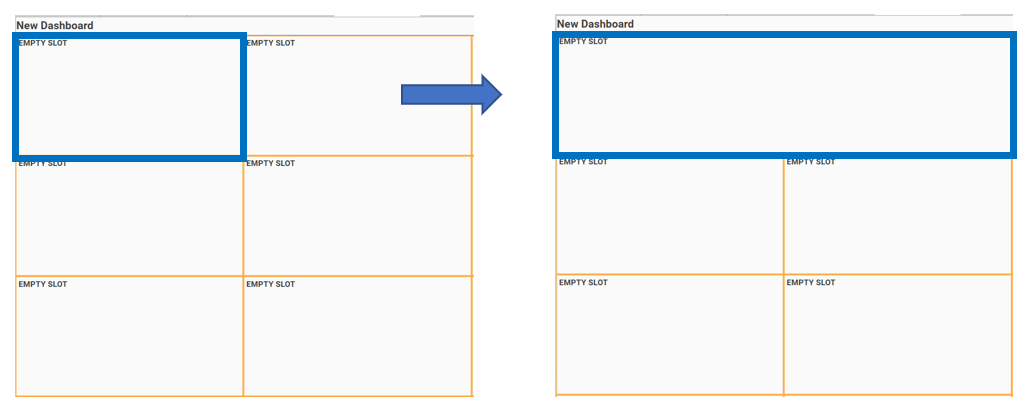
If the slot contains a dashboard component (i.e., a report), the component will be automatically resized with the slot.
The width of a slot can only be increased into the space occupied by the slot immediately to the right of the active slot.
Preserving Data in an adjacent slot
NOTE: Increasing the width of a slot will delete any components that are in the adjacent slot.
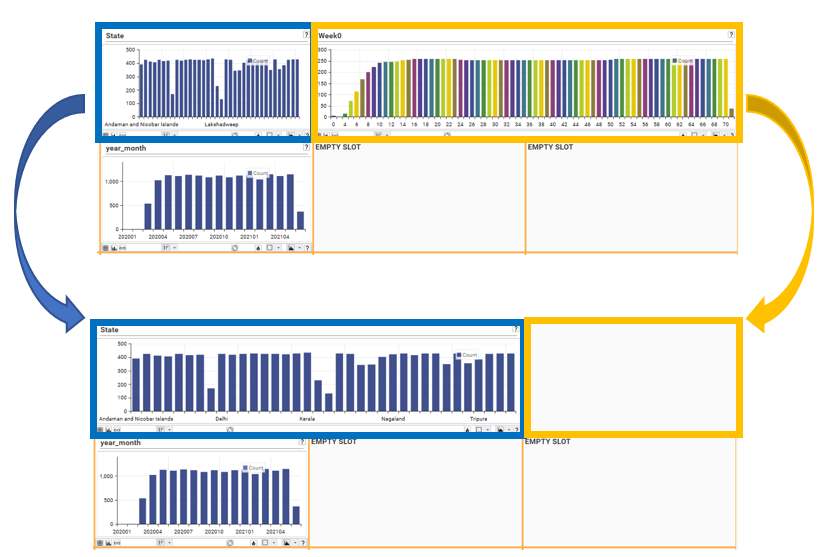
If there is a need to preserve the data that is in the adjacent slot, before increasing width, several options are available:
- Right-Click | Open Copy on the component in the adjacent slot. This will create a new workspace tab with a copy of the data in the selected slot.
- Drag slot into another slot. Profile components allow the user to drag their content directly into adjacent slots. To drag a component from one slot to another, make sure the dashboard is in DESIGN mode and hold down the CTRL key while dragging.
Decrease Width
Decreases the width of the current slot by one slot width. If the slot contains a dashboard component (i.e., a report), the component will be automatically resized with the slot.
.png)
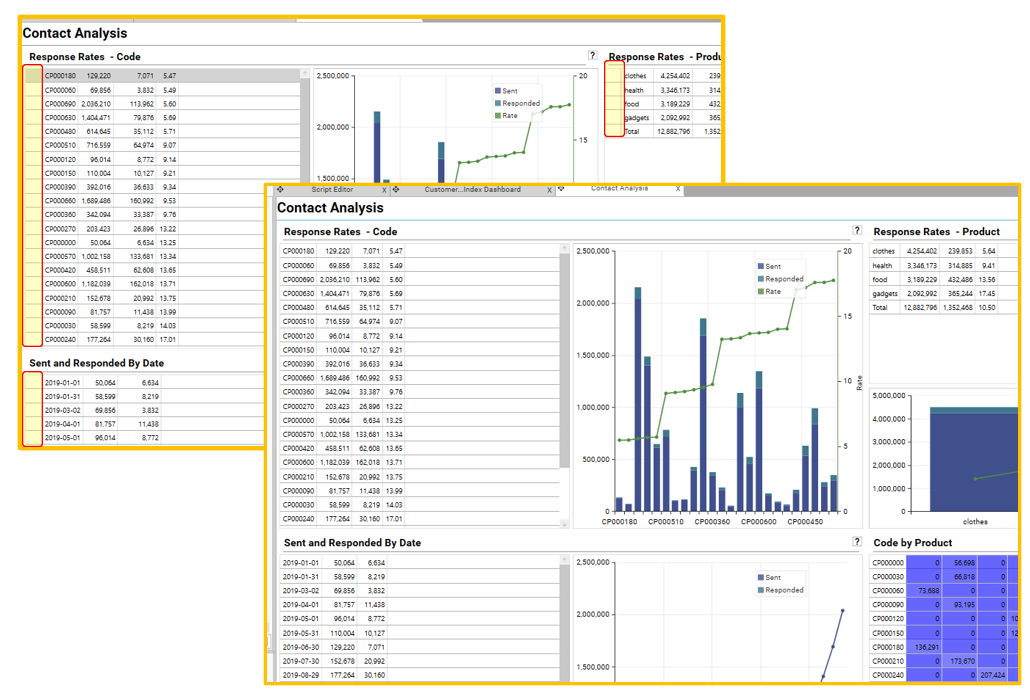
Increase Height
Increases the height of the current slot by one slot height. If the slot contains a component, the component will be automatically resized with the slot.
.png)
Note: See “Increase Width” for tips on preserving data in adjacent components before changing slot height.
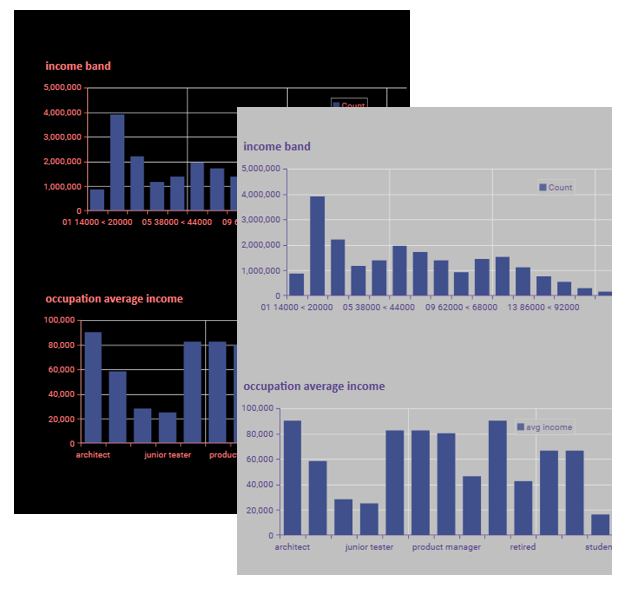
Decrease Height
Decreases the height of the current slot by one slot height. If the slot contains a dashboard component (i.e., a report), the component will be automatically resized with the slot.
.png)
Rearranging Slot Contents
Drag and Drop
The following component types support being moved directly from one slot to another by drag and drop:
- Profiles
- Simple Profile
- Crosstabs
- Index Profiles
- Multi-Function Profiles
- Multi-Field Profiles
To drag a component from one slot to another, make sure the dashboard is in DESIGN mode and hold down the CTRL key while dragging.
Open Copy
For components that don’t support rearranging via drag and drop, use the Open Copy command:
- Put the dashboard in design board
- Right-click the component to be moved
- Choose Open Copy – a new workspace tab will be opened with a copy of the slot contents
- Drag the new workspace tab into the desired location
- If necessary, use Right-Click | Delete Entry to remove the old component
Dashboard Styling
The following options are available for altering the look and feel of dashboards:
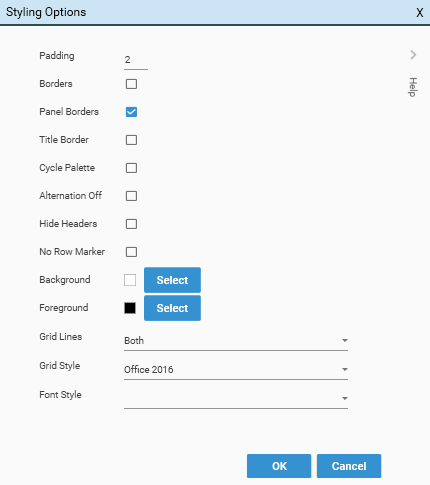
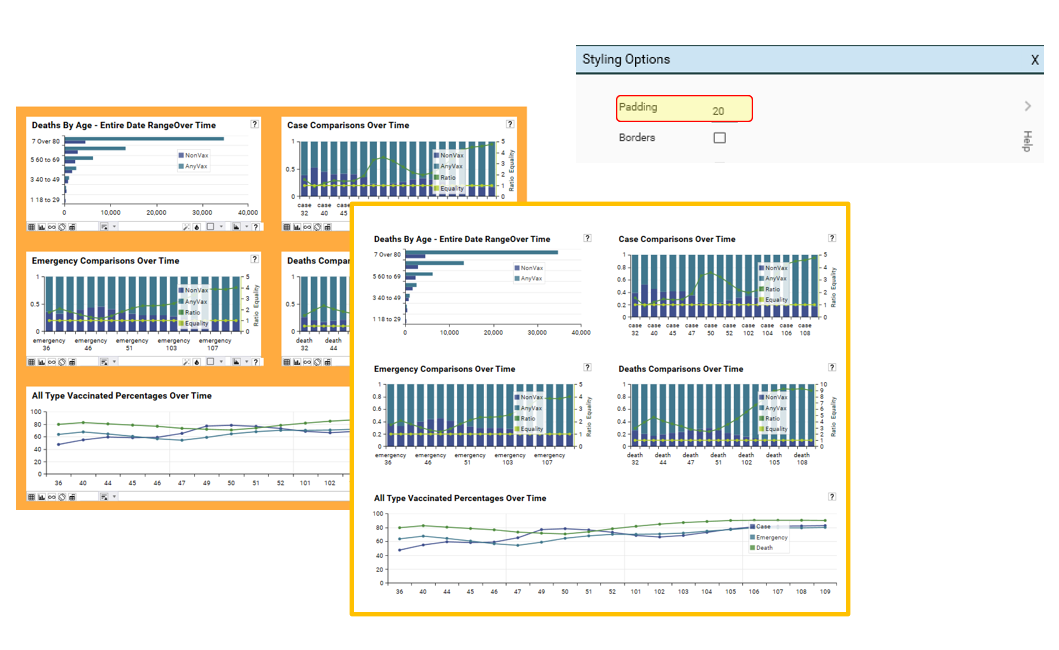
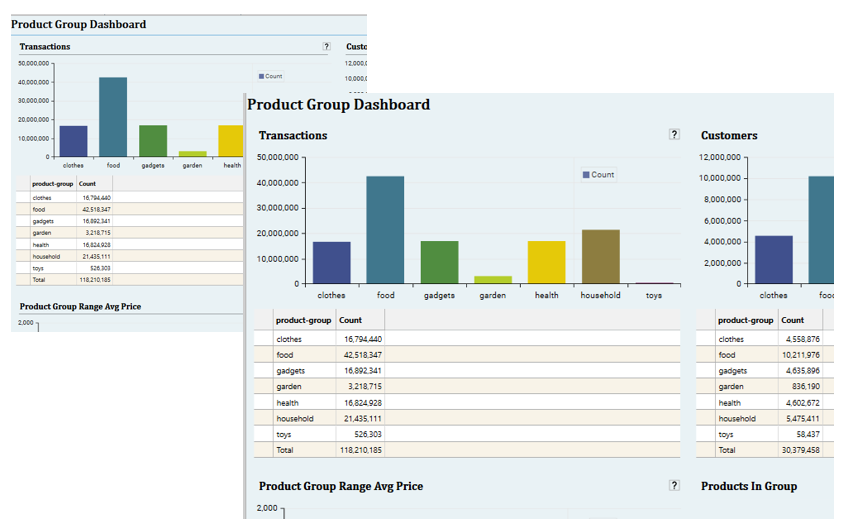
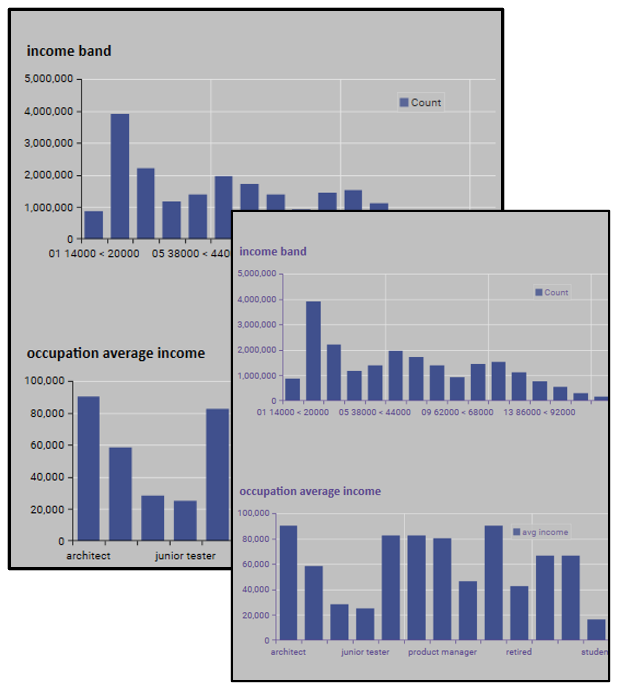
Padding
Controls the spacing between slots. Spacing is coloured pink when in design mode:
Borders
Controls whether or not a borders are drawn around slot contents:
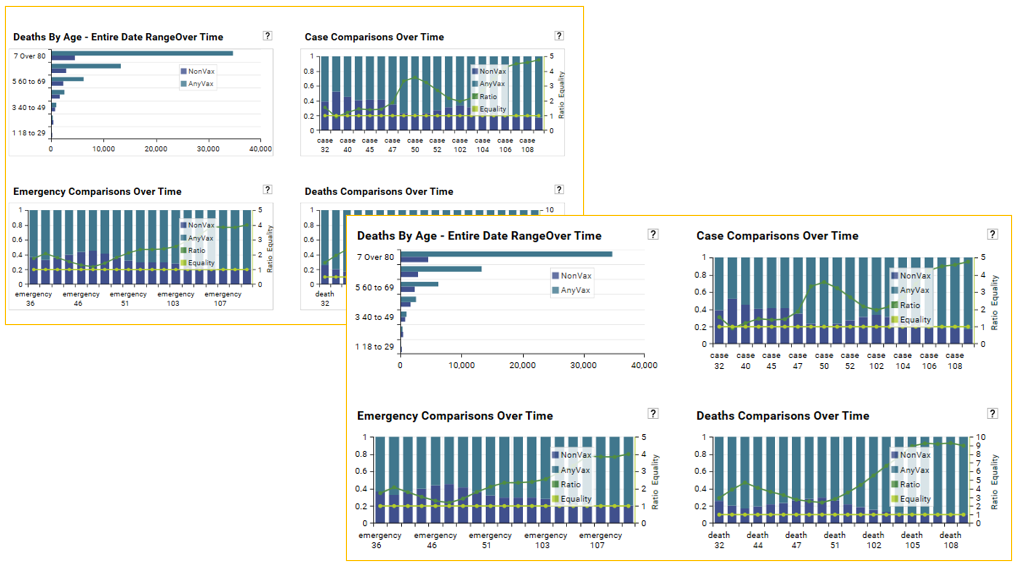
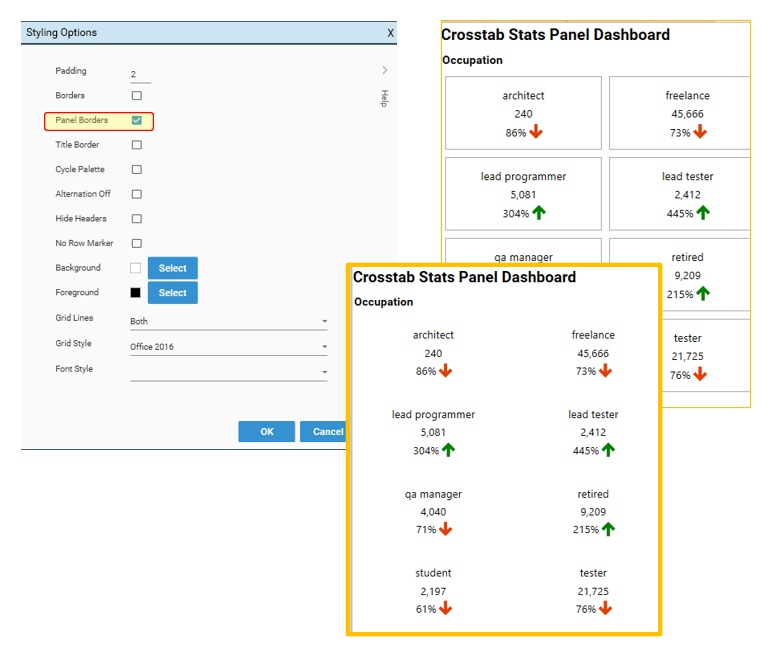
Panel Borders
Toggles panel borders on/off:
Title Border
Controls the display of Slot Title Borders:
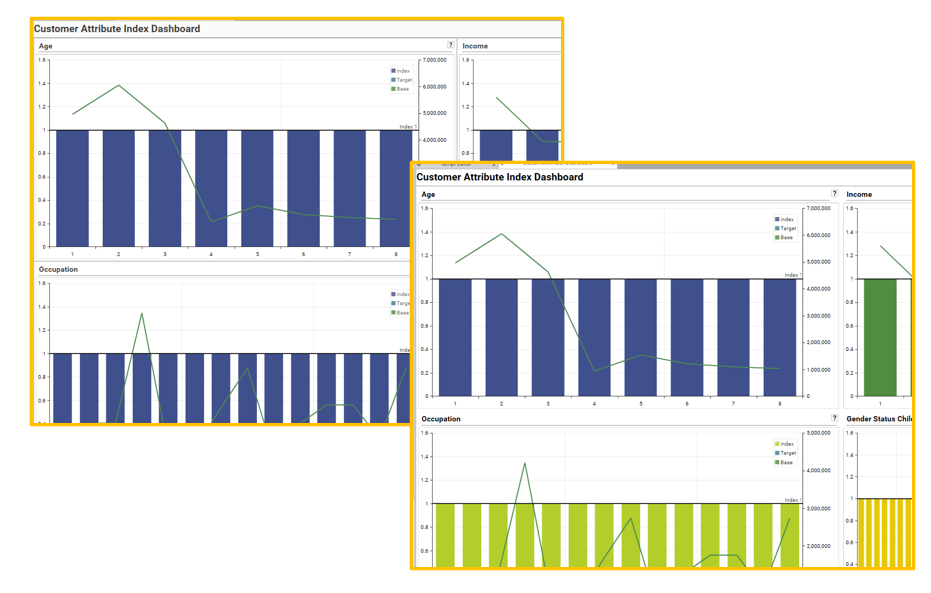
Cycle Palette
Turns on palette colour cycling - each new series that is plotted will take the next colour in the palette cycle:
Alternation Off
Toggles alternate grid line colours:
Hide Headers
Toggle Grid headers on/off: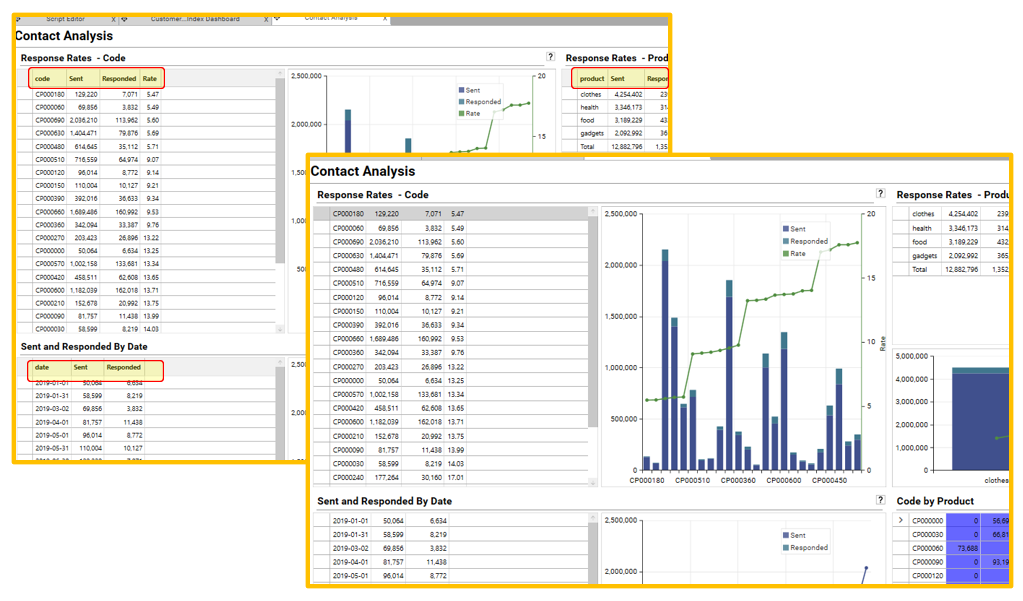
No Row Marker
Toggle Grid Row Margin on/off:
Background
Change background colour:
Foreground
Change Foreground colour:
Grid Lines
Controls the display of grid lines in data grids and charts
- None
- Both
- Horizontal
- Vertical
Grid Style
| style | |
|---|---|
| material | reflects the background of the dashboard: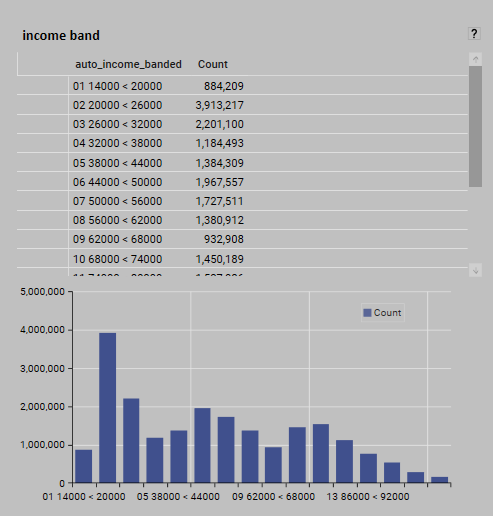 |
| office 2016/2013/2019 | 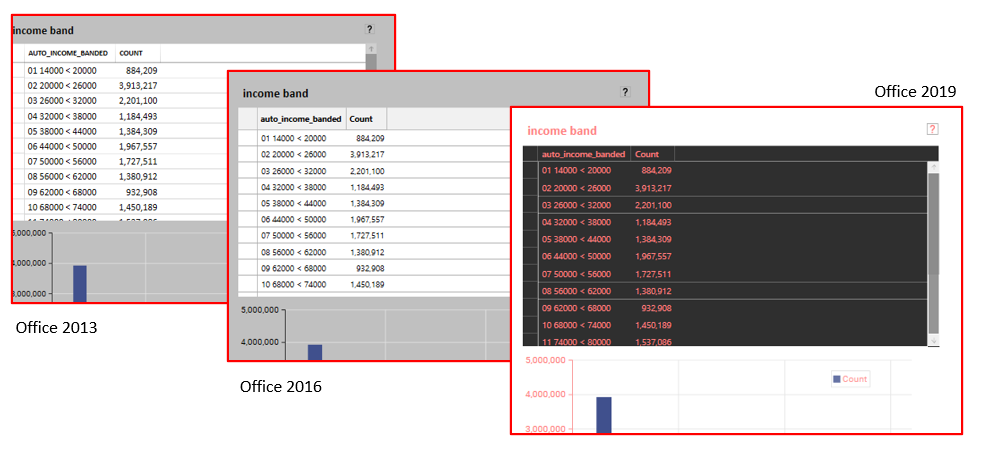 |
| crystal | 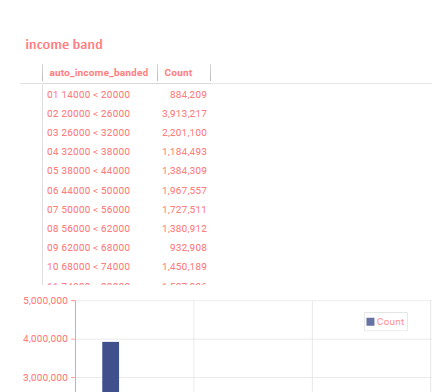 |
| studio 2019 | 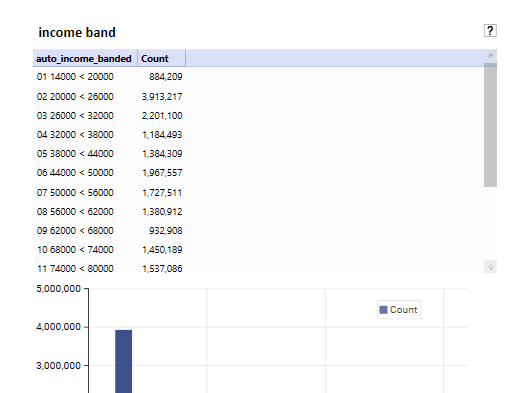 |
| windows 8/11 | 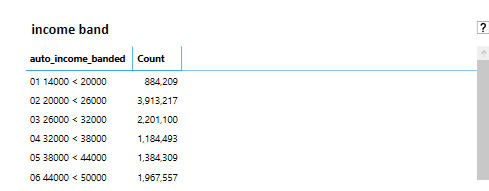 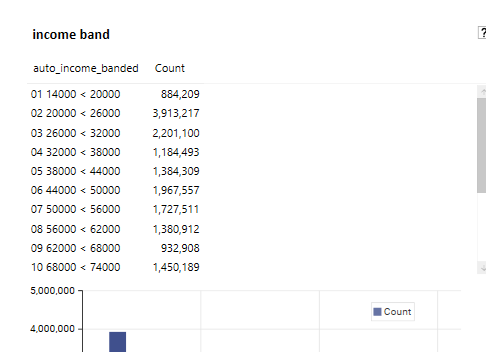 |
| transparent |  |