Post processing allows inter-column and inter-row manipulation of a raw Multi-Function Profile Result set.
The sequence of processing is
- Basic profile calculation - see Multi-Function Profile
- Post Function processing - see Post Functions
- Post-Processing
The following post-processing options are available:
- AddExtrapolated - Creates a set of values with a consistent gradient between the first and last row of the specified column
- AddForecast - Calculates average for a specified range and extends it out over a specified number of rows
- ColumnMath - Allows new columns to be added to the result set by applying expressions to existing result set column
- Cumulate - Calculates a running total on data created by raw multi-function profile or data added during post-processing
- FormatDateColulm - Modifies the specified Date Column to display in a specific format
- InsertDates - Inserts missing dates (and rows) into a time-based result set or extends result set back or forwards in time (profiles only)
- MovingAverage - Calculates a moving average across a configurable number of rows
Using Post-Processing
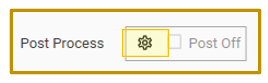
Access the post-process dialog via the settings button:
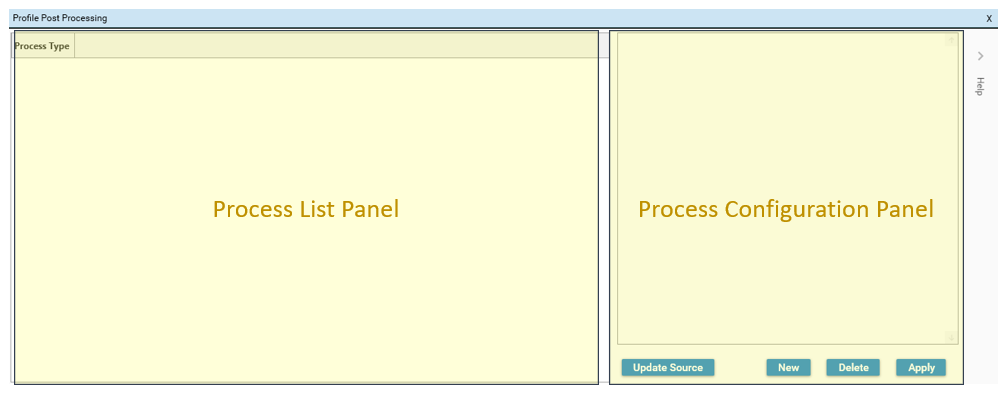
This will display the post-processing dialog:
To add a post-processing column, the following steps are required:
- New
- Apply
- Update Source
New
Selecting new will bring up a list of processes. Select a processing type. The Process Configuration Panel will be displayed: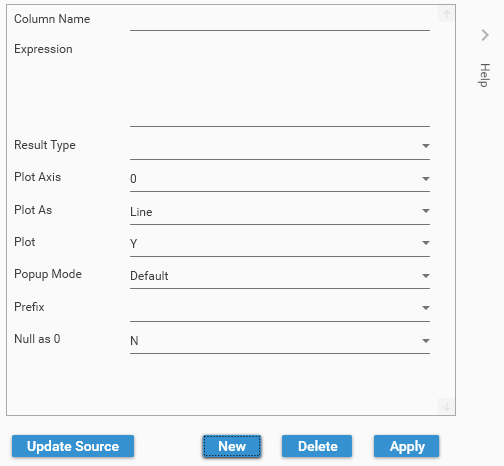
(Note: Right-click in the Expression box to select names of available source columns)
Apply
Click Apply to add the new configuration to the processing list.
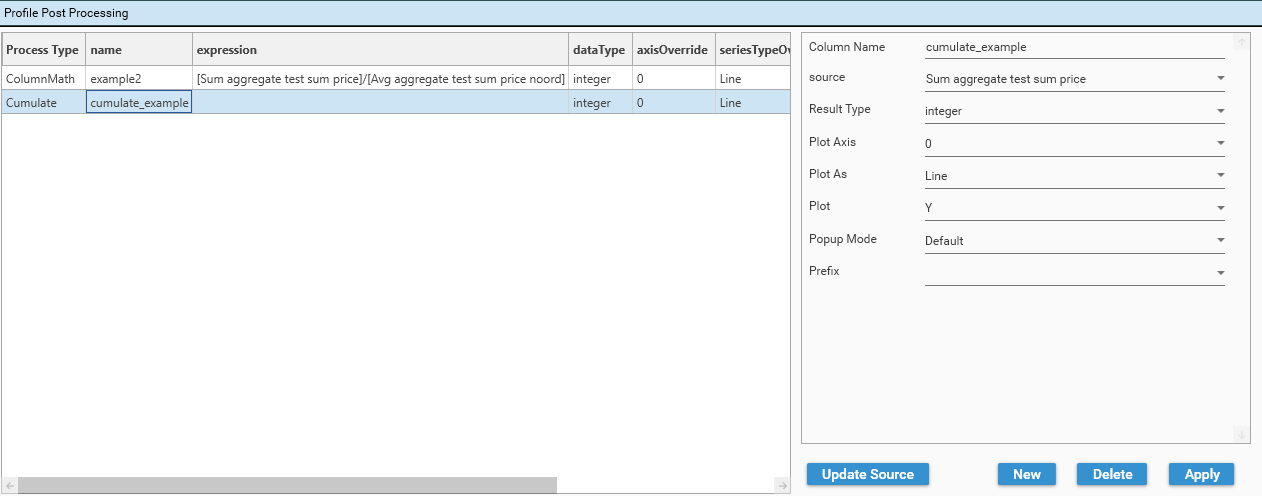
Update Source
When all post-processing columns have been added, click Update Source to append the post-processing columns to the calculation. Click X to close the post-process dialog.
Toggle On/Off
Use the post process on/off checkbox to turn off post-processing. This will turn off post-processing without requiring the post-processing columns to be removed from the report.