Overview

Accessed through Main Menu - Decode - Custom
Custom decode creates a new field by mapping each unique (distinct) value of the source field to a new value in the destination.
At its simplest, this procedure can be used to translate fields containing codes into a more readable format.
In the example above, occupation-code has been translated into the English values associated with each code.
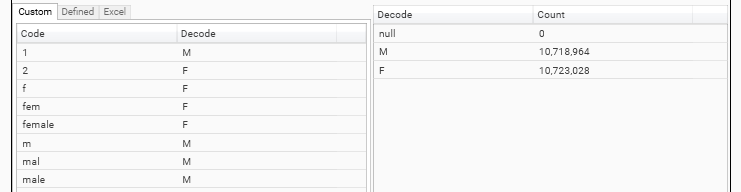
Since codes can be mapped onto the same value, this process can also be used for simple data cleaning, or for grouping data into hierarchies.
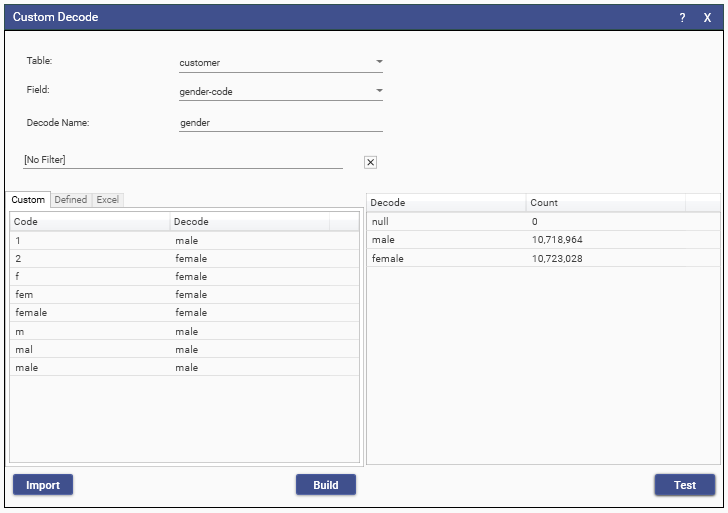
In the Example below, various different codes for gender have been mapped onto their actual meaning.
Creating
Choose the source field by selecting the table and field from the combo boxes, or drag the source field from Solution Explorer onto the Field combo box.
Enter a name for the new decoded field.
Once the source field has been selected, the grid will fill with each of its unique values.
Double click on the Decode cell for each row in the grid and enter the translated value.
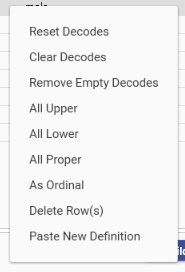
Helper functions are available via a right-click on the grid.
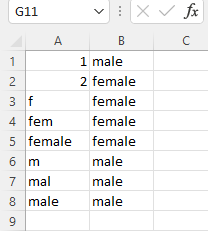
Tip: Editing functionality on this grid is basic. You can copy the entire grid with ctrl-A ctrl-C and paste it into your preferred editor, such as Excel.
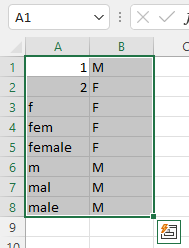
Once edited, highlight and copy the new grid and use the right-click menu "Paste New Definition"
Hit the Test button to check the results.
Code-decode pairs can also be imported from file. Format should be comma or table delimited code, decode with each entry in a new line
Once the definition is complete and tested, hit Build to run the process and add the new field to the table.
Creating from Excel Workbook
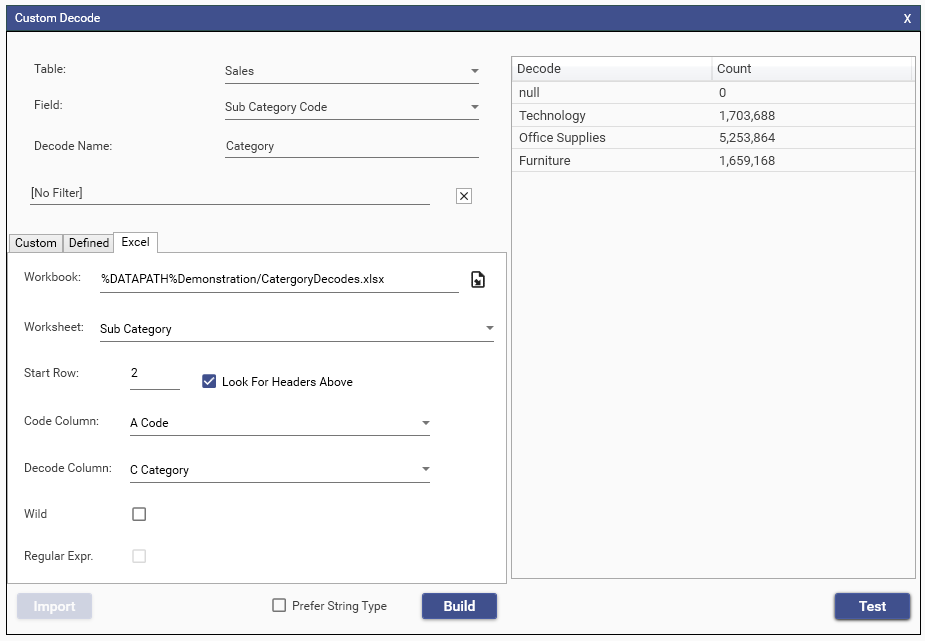
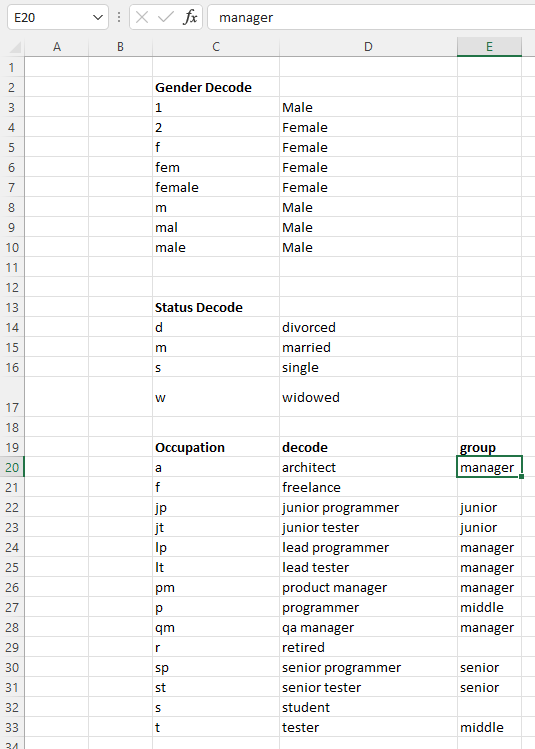
The project may have multiple fields that require decoding. The same decode definitions may be required on multi fields.
To make this process more manageable, each code-decode definition can stored on a unique worksheet in the same Excel spreadsheet- which can then be stored on the project's data path.
To create a decode from this resource,
- Select the Excel tab.
- Hit the file icon and browse for the Excel Workbook.
- Select the worksheet that contains the specific decodes from the Worksheet combo box.
- Select the column that contains code - default A
- Select the column that contains decode - default B
- Enter start row in worksheet - default 1
The function will stop when it reaches the first empty code column.
In this way, multiple decodes can be stored on the same worksheet.
Tip: Any changes to this centralised Excel spreadsheet will be realized on the next project load.